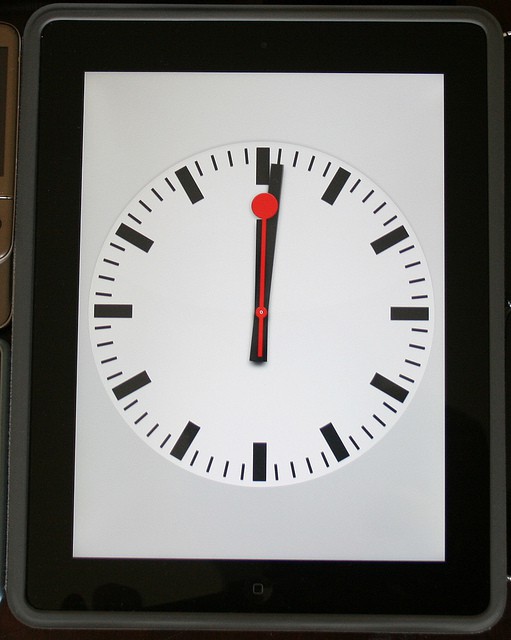
How to Change the Date and Time on Your Ipad
How to Change the Date and Time on Ipad – AppleRepo.com, One of the many things you are asked to do when you set up your Apple iPad is provide your time zone. Your iPad then uses its Internet connection to automatically set the date and time based on that information. While the whole process is great and convenient, you will then need to reset that date and time if you ever move to another time zone or if your device starts displaying incorrect information.
It can be pretty confusing trying to keep track of the date and time on your iPad. There are a lot of settings and options to choose from, and it can be tough to remember how to change them. Fortunately, we’ve got a quick and easy guide on how to change the date and time on your iPad, so you can keep track of everything easily.
Luckily, as with most tasks on the device, the process of changing the date and time on your iPad is pretty straightforward.
Read: How to Change Time on iPhone
How to Change the Date and Time on Ipad
It can be annoying when your iPad’s time is constantly out of sync with the real world. Maybe you’ve traveled to a different time zone and forgot to change the time on your device, or maybe the automatic time zone feature is malfunctioning.In any case, it’s easy to change the time on your iPad manually. Here’s how, please follow steps below:
- Step 1
Access your Apple iPad’s “Settings” application by tapping its icon with your finger one time. Though this icon is not present in any folders when you first turn on the device, you may have added it to a folder since owning your iPad. If you can’t find the “Settings” application on its own page, open your folders until you find it. The “Settings” application cannot be uninstalled, so it has to be on your device somewhere.
- Step 2
If the “General” option is not automatically selected, tap it one time in the column on the left side of your iPad screen. Scroll all the way to the bottom of the “General” window until you find the option labeled “Date & Time.” Select this option to move to the next step.
- Step 3
Tap the “24-Hour Time” option if you want to move to the international method of displaying time rather than the domestic method. If you want your iPad to automatically set the date and time in the future, tap the “Set Automatically” button to turn this function on. If your device is connected to the Internet, tap the “Time Zone” option and choose a city from the list that is near your current location. Your iPad will adjust the date and time that it displays to match the current date and time for the location you have selected.
- Step 4
Tap “Set Date & Time” if you want to manually set the date and time, or if your iPad is not connected to the Internet. Use the box on screen to specify a day and exact time for your device.
- Step 5
Tap anywhere in the “Settings” application to close the “Date & Time” utility. Your iPad’s date and time will now reflect the changes you just specified.
That’s it entirely so you won’t have many problems sorting out this aspect of your Apple gadget – if only everything was so simple.
The process on how to change time on ipad also changing the date is relatively simple and straightforward. In most cases, you’ll just need to head to the Settings app and adjust the relevant settings. However, if you need to manually adjust the date and time, you can do so by following the steps outlined in this article.

Editor-in-chief in charge of reviewing an article before it is published on applerepo.com

